DIY Guide: Wiring a New Light Fixture Safely
Key Takeaways
Replacing a ceiling light can be manageable when the existing wiring and electrical box are in good condition. Work slowly, verify the circuit at every stage, and stop if anything looks unfamiliar or unsafe.
- Turn off the correct breaker and test the wires before touching them.
- Confirm that the ceiling box can support the new fixture.
- Match hot, neutral, and ground conductors carefully.
- Use approved connectors and keep connections inside the box.
- Call a licensed electrician when the wiring or support is uncertain.
Plan the installation and confirm the wiring setup
Before learning how to wire a light fixture, take a few minutes to understand what you are installing and what is already in the ceiling. A simple replacement is different from adding a new circuit or moving a junction box. Check the fixture instructions, the electrical box, and the condition of the visible cable. A careful plan prevents rushed decisions once the old light is down. If you'd like a general overview alongside this guide, our Product Installation Guide covers setup notes across our fixture range.
Identify the fixture type and power requirements
Check whether the new fitting is a flush mount, pendant, chandelier, or another style, and note its weight and mounting method. Confirm the rated voltage, bulb type, maximum wattage, and whether a transformer is required. The same planning applies when learning how to install a light fixture, but the product instructions always take priority over a general guide.
For vintage or LED lighting, Ledsone offers a broad selection of styles, including vintage and modern LED options across our pendant light and wall light collections. Ledsone also offers transformers, lampshades, and holders in our lighting accessories range, so verify that any separate component is suitable for the fixture before wiring it.
Check the existing ceiling box and support
A ceiling box must be firmly attached to the structure and rated for the weight of the fixture. A lightweight fitting may use a standard box, while a heavier pendant or chandelier may need a box and support system designed for that load. Do not rely on drywall, plaster, or the electrical cable to hold the fixture.
If the box moves when gently tested, or if the new mounting bracket does not align with its holes, pause before proceeding. Correcting the support first is safer than trying to make the canopy conceal a weak or unsuitable installation.
Understand wire colors, cable types, and grounding
In common North American wiring, black is typically hot, white is typically neutral, and bare or green is ground. These colors are useful clues, not permission to skip testing; older installations, switched loops, and previous repairs may differ. If you are wondering, "What do the wires on a light fixture mean?" the fixture instructions and a voltage test provide the reliable answer.
A basic light fixture wiring diagram can help you visualize the relationship between the supply conductors and the fixture leads, but never connect wires solely because they look similar. The exact cable type, grounding arrangement, and local practice matter, especially when wiring a ceiling light fixture in an older home.
Review local electrical codes and permit requirements
Electrical rules vary by location, and this guide is not a substitute for local code requirements. Check whether a permit, inspection, approved box, or particular connector is required for your project. Rules may also apply to bathroom, outdoor, damp, or heritage locations.
If the work involves a new circuit, a changed switch arrangement, damaged cable, or an unsupported box, get professional advice before opening the wiring. The answer to "Can I install a light fixture myself?" depends on both your local rules and the condition of the installation.
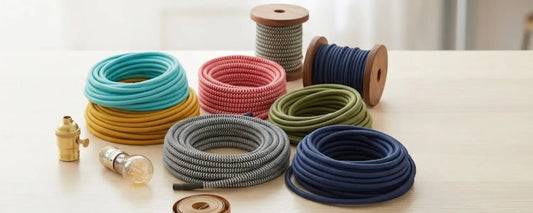
Fabric cable for your wiring project


Gather the right tools and safety equipment
Having the right equipment nearby makes the work calmer and reduces the temptation to improvise. You will usually need hand tools, a reliable tester, connectors, and a stable way to reach the ceiling. Set everything out before switching off the circuit. A practical light fixture installation checklist can help you confirm that nothing essential has been overlooked.
Essential hand tools for light fixture wiring
Prepare insulated screwdrivers, a wire stripper, combination pliers, a small flashlight, and a suitable ladder. You may also need a drill, anchors where permitted, and a cloth to protect the fixture while it is being handled. Use tools that fit the fasteners rather than forcing a loose screwdriver into a screw head.
The answer to "What tools do I need to wire a light fixture?" is not a long specialist kit. It is a small collection of suitable tools in good condition, plus a tester and the correct mounting hardware for the fitting.
Voltage tester options and how to use them
A non-contact voltage tester is useful for an initial check, while a properly rated two-pole tester or multimeter can provide a more direct confirmation when used correctly. Test the tester on a known live source before checking the ceiling, then test the ceiling conductors and test the instrument again afterward. Follow the tester manufacturer's instructions and keep your fingers away from exposed metal.
A tester does not identify every wiring problem, and a non-contact model can give misleading results in some situations. Treat an unexpected reading as a reason to stop, isolate the area, and investigate safely rather than as a minor inconvenience.
Wire connectors, electrical tape, and mounting hardware
Use connectors rated for the wire size and conductor material, and replace any connector that is cracked, loose, or damaged. Electrical tape may help secure an approved connection, but it should not substitute for the correct connector. Keep the fixture's bracket, screws, ground screw, and any included washers together so the fitting can be secured as designed.
Before starting, gather these small items in one place:
- Approved wire connectors of the correct size.
- A replacement mounting bracket if the supplied one does not fit.
- A flashlight or headlamp for working inside the box.
- Protective glasses and a stable, nonconductive ladder.
Shut off power and verify the circuit is safe
Power must be isolated before the old fixture is opened. Turning off only the wall switch is not enough, because the ceiling box may still contain an energized conductor. The safest routine is to switch off the circuit at the panel, prevent someone from restoring it, and test before touching anything. This is the central safety step in any guide about how to turn off power before wiring a light fixture.
Turn off the correct breaker or fuse
Turn on the existing light, then identify the breaker that makes it go out, or remove the appropriate fuse where applicable. Switch the breaker fully to the off position and label or secure it if another person could restore power. If the panel is not clearly marked, test each likely circuit rather than guessing.
Do not work inside a panel unless you are qualified to do so. The circuit controls may be accessible, but other parts of the panel can remain dangerous even when a branch circuit is off.
Confirm the light switch is not supplying power
Return to the room and operate the wall switch in every position. The light should remain off, but this is only a functional check, not proof that the wires are safe. If the fixture is controlled by more than one switch, check each control and consider whether another circuit may enter the same box.
A switch may interrupt the hot conductor while the neutral remains present, or the wiring may not follow modern color conventions. Keep the breaker off while preparing the tester and removing the cover or canopy.
Test every wire with a non-contact voltage tester
Bring the tester close to each insulated conductor, the wire ends, and the inside of the ceiling box as directed by its instructions. Test the instrument on a known live source before and after the check. Test before touching is a simple rule that prevents a great deal of avoidable risk.
Do not assume that a wire is dead because the light does not operate. A circuit can feed other equipment, and a borrowed neutral or incorrectly wired switch can create an unexpected condition.
Handle unexpected wiring or multiple circuits
Stop if you find more wires than expected, separate cables, unusual colors, a second switch leg, or any voltage after the breaker is off. Do not disconnect conductors just to see what they do. Photograph the arrangement and seek qualified help if you cannot positively identify every conductor.
Multiple circuits in one box require special care because turning off one breaker may not de-energize everything. A general safe light installation guide also treats uncertain or complex situations as a reason to involve an expert, rather than pushing ahead.
Remove the old fixture without damaging the wiring
Once the circuit is verified safe, remove the old fitting methodically. Fixtures can be heavier than they appear, and their wires may be the only thing keeping them from falling. Protect the ceiling finish and avoid pulling cable from the box. Photographing the connections before separating them gives you a useful record if the new fixture's leads are not immediately obvious.
Document the existing connections before disconnecting
Take clear photos from several angles, including the mounting bracket and each wire connector. Note which supply conductor connects to the old fixture's hot, neutral, and ground leads. If the old fitting has a switch loop or additional cable, record that arrangement rather than relying on memory.
This is especially helpful when working through how to wire a light fixture to an existing wire, because the visible conductors may include more than the two wires needed by the replacement fitting.
Support the fixture while removing mounting hardware
Loosen decorative nuts or screws while supporting the fixture with one hand or with a helper. Do not allow the fitting to hang by its wires. For a heavy fixture, use a temporary support or have another person take its weight before the final fastener is removed.
Lower the fixture gently and place it on a protected surface. Keep the conductors accessible without stretching them, and remove bulbs or fragile shades before handling a heavy fitting overhead.
Separate hot, neutral, and ground conductors
With power still off and the circuit tested, unscrew the connectors rather than yanking them apart. Separate the fixture wires from the supply wires and keep the grounding connection identifiable. Do not cut conductors shorter unless there is a clear reason and enough length will remain for the new connection.
The familiar black white green wire light fixture combination usually indicates hot, neutral, and ground, but colors can vary by installation and country. Use your notes, the fixture instructions, and testing rather than color alone.
Inspect wires for heat damage, corrosion, or fraying
Look for darkened insulation, melted connector bodies, brittle cable, green corrosion, loose strands, or copper that has been cut repeatedly. Lightly flex only what is safe to inspect; do not disturb damaged wiring unnecessarily. Any sign of overheating deserves attention before a new fitting is connected.
If the conductors are too short, damaged, or loose in the box, stop and arrange a repair. Installing a new fixture over compromised wiring hides the problem and can create a less secure connection.
Connect the new light fixture wires correctly
The connection stage is where a careful plan becomes a working installation. Read the fixture instructions first, identify each lead, and keep the grounding path continuous. The supply conductors should remain inside the electrical box, with no exposed copper outside the connectors. Never use a connection method that the fixture instructions or local code does not permit.
Match the fixture's hot and neutral wires
Connect the fixture's hot lead to the switched hot supply, commonly black, and connect the fixture's neutral lead to the neutral supply, commonly white. Many fixtures identify their leads by color or labeling, but confirm the instructions before joining them. A light fixture wire colors explained reference can be useful for orientation, not as a replacement for testing.
If the old wiring has a different arrangement, do not simply match colors. Identify which conductor is switched hot and which is neutral, and ask an electrician when that cannot be established confidently.
Connect the ground wire to the grounding system
Connect the fixture's green or bare grounding lead to the grounding conductor and, where required, to the metal electrical box using an approved grounding screw or pigtail arrangement. The ground connection should be mechanically secure and continuous. Never use the neutral as a substitute for ground.
Some fixtures have a grounding terminal or a separate grounding strap; follow the supplied instructions. If there is no apparent grounding path in an older installation, stop and obtain professional advice before fitting a metal fixture.
Strip and join wires with approved wire connectors
Strip only the amount specified by the connector, keeping the copper clean and evenly aligned. Hold the conductors together, twist or prepare them as the connector instructions require, and tighten the connector securely. A gentle pull on each wire can reveal a loose connection, but do not pull hard enough to damage the joint.
Connections should be enclosed, with no bare copper showing beyond the connector. Avoid mixing conductor sizes or materials in a connector that is not rated for that combination.
Manage excess wire inside the electrical box
Fold the connected wires carefully into the box so they are not pinched by the bracket or canopy. Keep the grounding conductor arranged so it cannot contact an unintended terminal. Do not force a crowded bundle into a shallow box or use the canopy to compensate for insufficient box space.
The fixture should sit flat without compressing the connections. If there is not enough room, the box is damaged, or the wires cannot be folded without strain, pause and have the installation assessed.
Secure the fixture and complete the installation
After the conductors are connected, the mechanical installation still needs attention. A fixture should be supported by its box and mounting hardware, not by the wiring. Compare the supplied bracket with the existing box and make sure the canopy will cover the opening without pressing against the ceiling unevenly. Take care with finish surfaces, since scratches and chipped paint are easy to create at this stage.
Install the mounting bracket or crossbar
Attach the bracket or crossbar to the ceiling box with the correct machine screws, tightening them evenly. Confirm that the screws engage the box threads and that the bracket does not wobble. If the bracket supplied with the fixture is not compatible, use only hardware approved for that box and fixture.
Do not use drywall anchors as a substitute for a properly supported electrical box. The bracket needs to carry the fixture's load through the box or its approved structural support.
Attach the fixture to the ceiling box
Follow the fixture instructions to attach the body, stem, chain, or canopy to the bracket. Keep the wiring tucked inside while lifting the fixture, and have a helper support it if it is heavy. Tighten fasteners firmly without crushing the canopy or stripping decorative hardware.
For a new fitting, installation height and clearance also matter. Guidance on lighting placement and hanging heights can help you plan the position before the final tightening, particularly for pendants or fixtures over a table.
Complete pendant and ceiling-rose kits
If your fixture didn't come with its own ceiling rose and holder, or you'd rather avoid hardwiring altogether, these are worth a look before you finish the installation.

Vintage Metal Hanging Light with Ceiling Rose Kit
Includes ceiling rose, holder, and 1m adjustable pendant set — a complete replacement for the wiring steps above.
$39.99
Shop Now

Industrial Dome Pendant Light, E26
Comes with a complete mounting kit — ceiling rose, screws, and holder — for a hardwired dome pendant.
$34.99
Shop Now
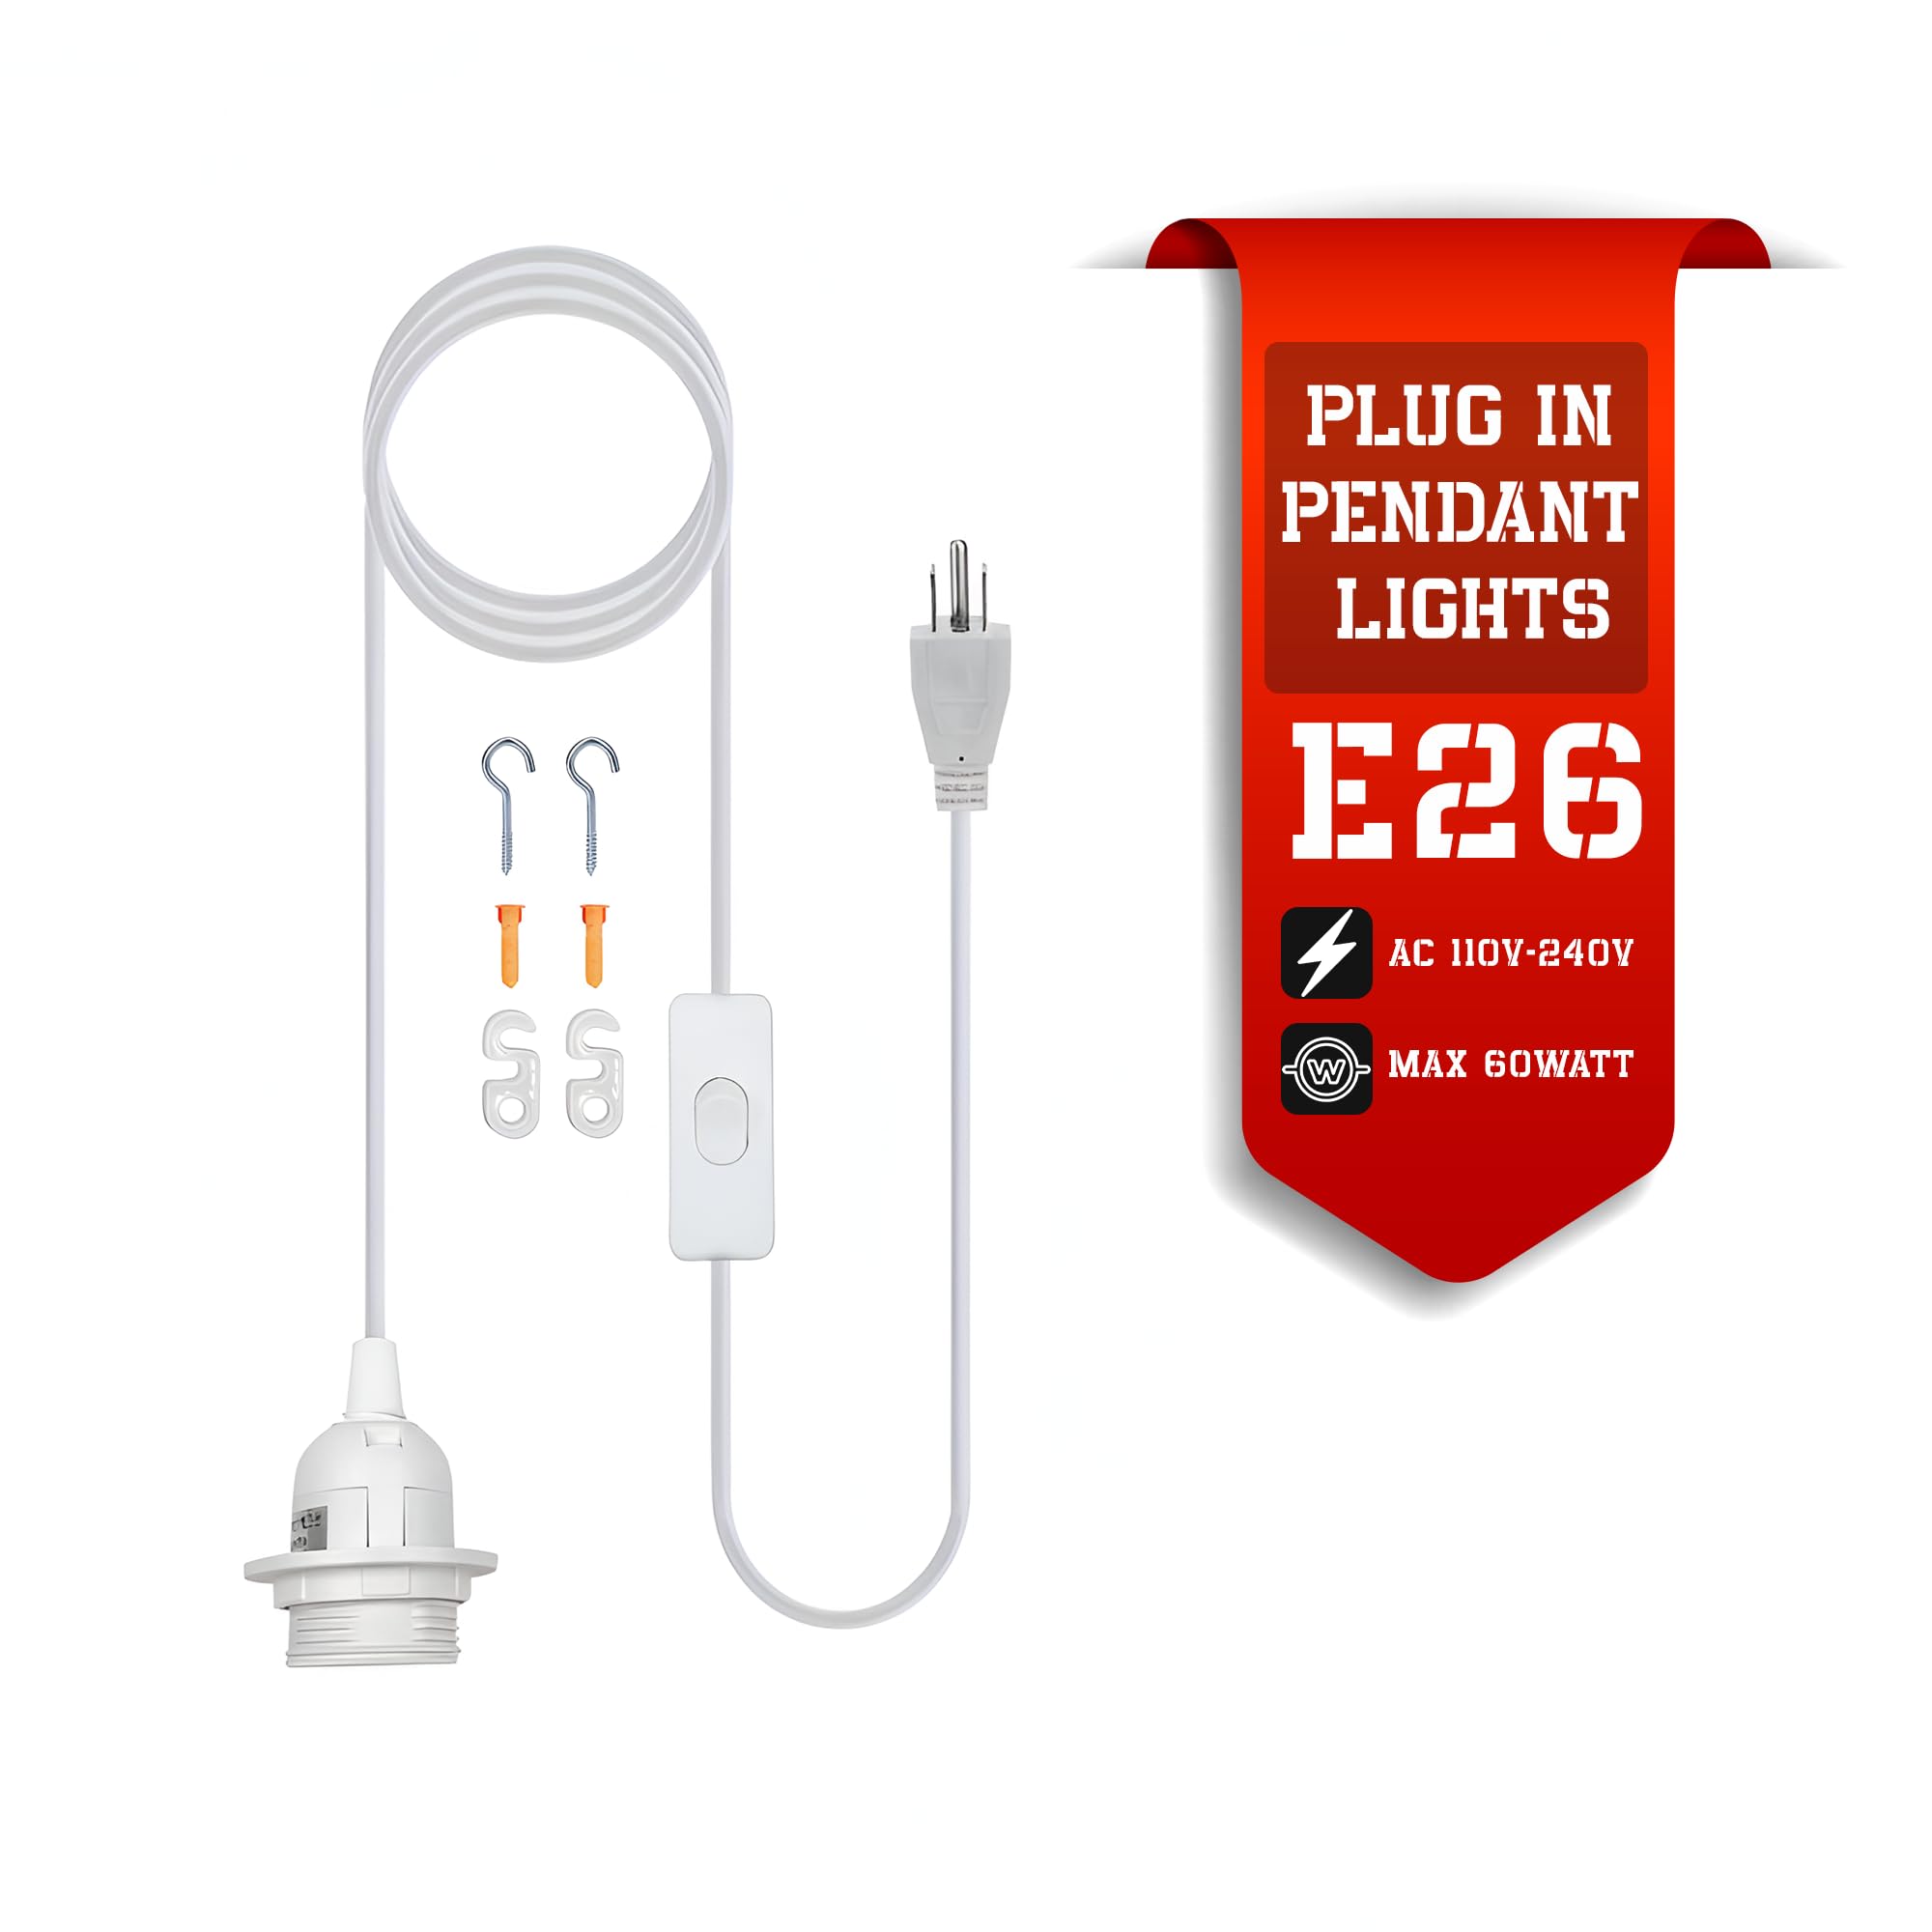
Plug-In Pendant Light Cord with Switch
Not comfortable opening the ceiling box? This 16ft plug-in kit needs no hardwiring — just hang and plug in.
$39.99
Shop Now
Install bulbs and follow the fixture's wattage rating
Install bulbs only after the fixture is secure, and use the bulb base, shape, voltage, and maximum wattage specified by the manufacturer. LED bulbs can run cooler and use less power than traditional options, but they still need to be compatible with the fixture and any dimmer. Never exceed the stated rating.
Ledsone offers vintage and modern LED lighting options in our bulb collection, but the specific bulb or fitting still needs to be checked against its own rating and installation instructions. Product availability does not remove the need for electrical compatibility.
Check that the canopy and hardware are firmly seated
Before restoring power, inspect the canopy edge, mounting screws, strain relief, and visible alignment. The canopy should sit evenly against the ceiling without trapping wires. Give the fixture a careful, light touch to confirm it is stable, but do not twist it against the wiring.
Clean fingerprints from finished surfaces and reinstall shades or covers as directed. A final mechanical check now is easier than trying to correct a loose fitting after the circuit is energized.
Test the light and troubleshoot common problems
The final test should be deliberate rather than rushed. Make sure the fixture is assembled, bulbs are installed correctly, and nobody is touching exposed parts before restoring power. Stand clear while switching the breaker back on, then operate the wall switch. If anything behaves unexpectedly, turn the power off again before investigating.
Restore power and test the wall switch
Restore the breaker or replace the fuse, then test the wall switch through its normal positions. The light should turn on cleanly without sparks, smoke, unusual heat, or noise. Check that the switch controls the intended fixture and that any other controls still operate as expected.
If the fixture works, leave it on briefly and look for movement, heat, or a smell from the canopy. A normal test does not justify ignoring a loose box or damaged cable discovered during the installation.
Diagnose a light that does not turn on
Switch the circuit off again before checking anything. Confirm the bulb is suitable and seated, then review the hot, neutral, and ground connections against the fixture instructions. Check that the breaker has not tripped and that the wall switch wiring was not disturbed.
A no-light condition can come from a loose connector, an incorrect switched-hot connection, a failed bulb, or a circuit problem elsewhere. If the cause is not obvious after safe visual checks, stop rather than repeatedly re-energizing the circuit.
Fix flickering, buzzing, or loose connections
Turn off power before tightening or remaking any connection. Flickering may indicate a loose wire, incompatible dimmer, poor bulb contact, or a fixture fault; buzzing can also point to an unsuitable control or a mechanical vibration. Do not treat persistent noise or heat as normal.
Inspect the mounting hardware as well as the electrical joints. A loose canopy can vibrate, while a loose connector can create a more serious electrical hazard. Replace damaged connectors and seek advice if the symptom remains.
Conclusion
Learning how to wire a light fixture safely is mostly a matter of preparation, isolation, careful identification, and secure mechanical work. If the box, wiring, and fixture are compatible, a patient replacement can be straightforward; if any part is uncertain, professional help is the right next step.
Frequently Asked Questions
What tools do I need to wire a light fixture?+
A small kit is enough: insulated screwdrivers, a wire stripper, combination pliers, a flashlight, a stable ladder, and a voltage tester. You'll also need connectors rated for your wire size and the mounting hardware included with the new fixture.
Can I install a light fixture myself?+
Often yes, if you're replacing a fixture on an existing circuit with a sound electrical box and undamaged wiring. New circuits, damaged cable, unsupported boxes, or unfamiliar wiring arrangements are reasons to call a licensed electrician instead. Always check local code and permit requirements first.
What do the wires on a light fixture mean?+
In common North American wiring, black is typically hot, white is typically neutral, and bare or green is ground. These are useful clues rather than guarantees — always confirm with the fixture instructions and a voltage test, especially in older homes.
How do I turn off power before wiring a light fixture?+
Switch off the breaker at the panel rather than relying on the wall switch alone, since the ceiling box can still carry a live conductor. Test the circuit with a voltage tester before touching any wires, and test the tester itself on a known live source first.
Do I need an electrician if I don't want to open the ceiling box?+
Not necessarily. A plug-in pendant light kit uses a standard wall outlet and needs no hardwiring, which is a straightforward alternative if you'd rather not work inside the electrical box.
Etiquetas:
Anterior
Pendant Light Height Guide: Dining Table, Island, Bar, and Entryway
Próximo
How to Match a Lamp Shade to Your Lamp Base
Artículos relacionados


How to Match a Lamp Shade to Your Lamp Base
Aug 27 2026